Get started with Estravon.
The complete guide — from installing Zotero to reading your extracted Markdown in Obsidian or Claude. Start with one of the side recipes to set up a backend, then follow the main recipe.
From Zotero library to Markdown.
The core workflow every user follows. Set up a backend first — Side recipe A (hosted), B (self-hosted), or C (self-hosted, fully offline) — then come back here.
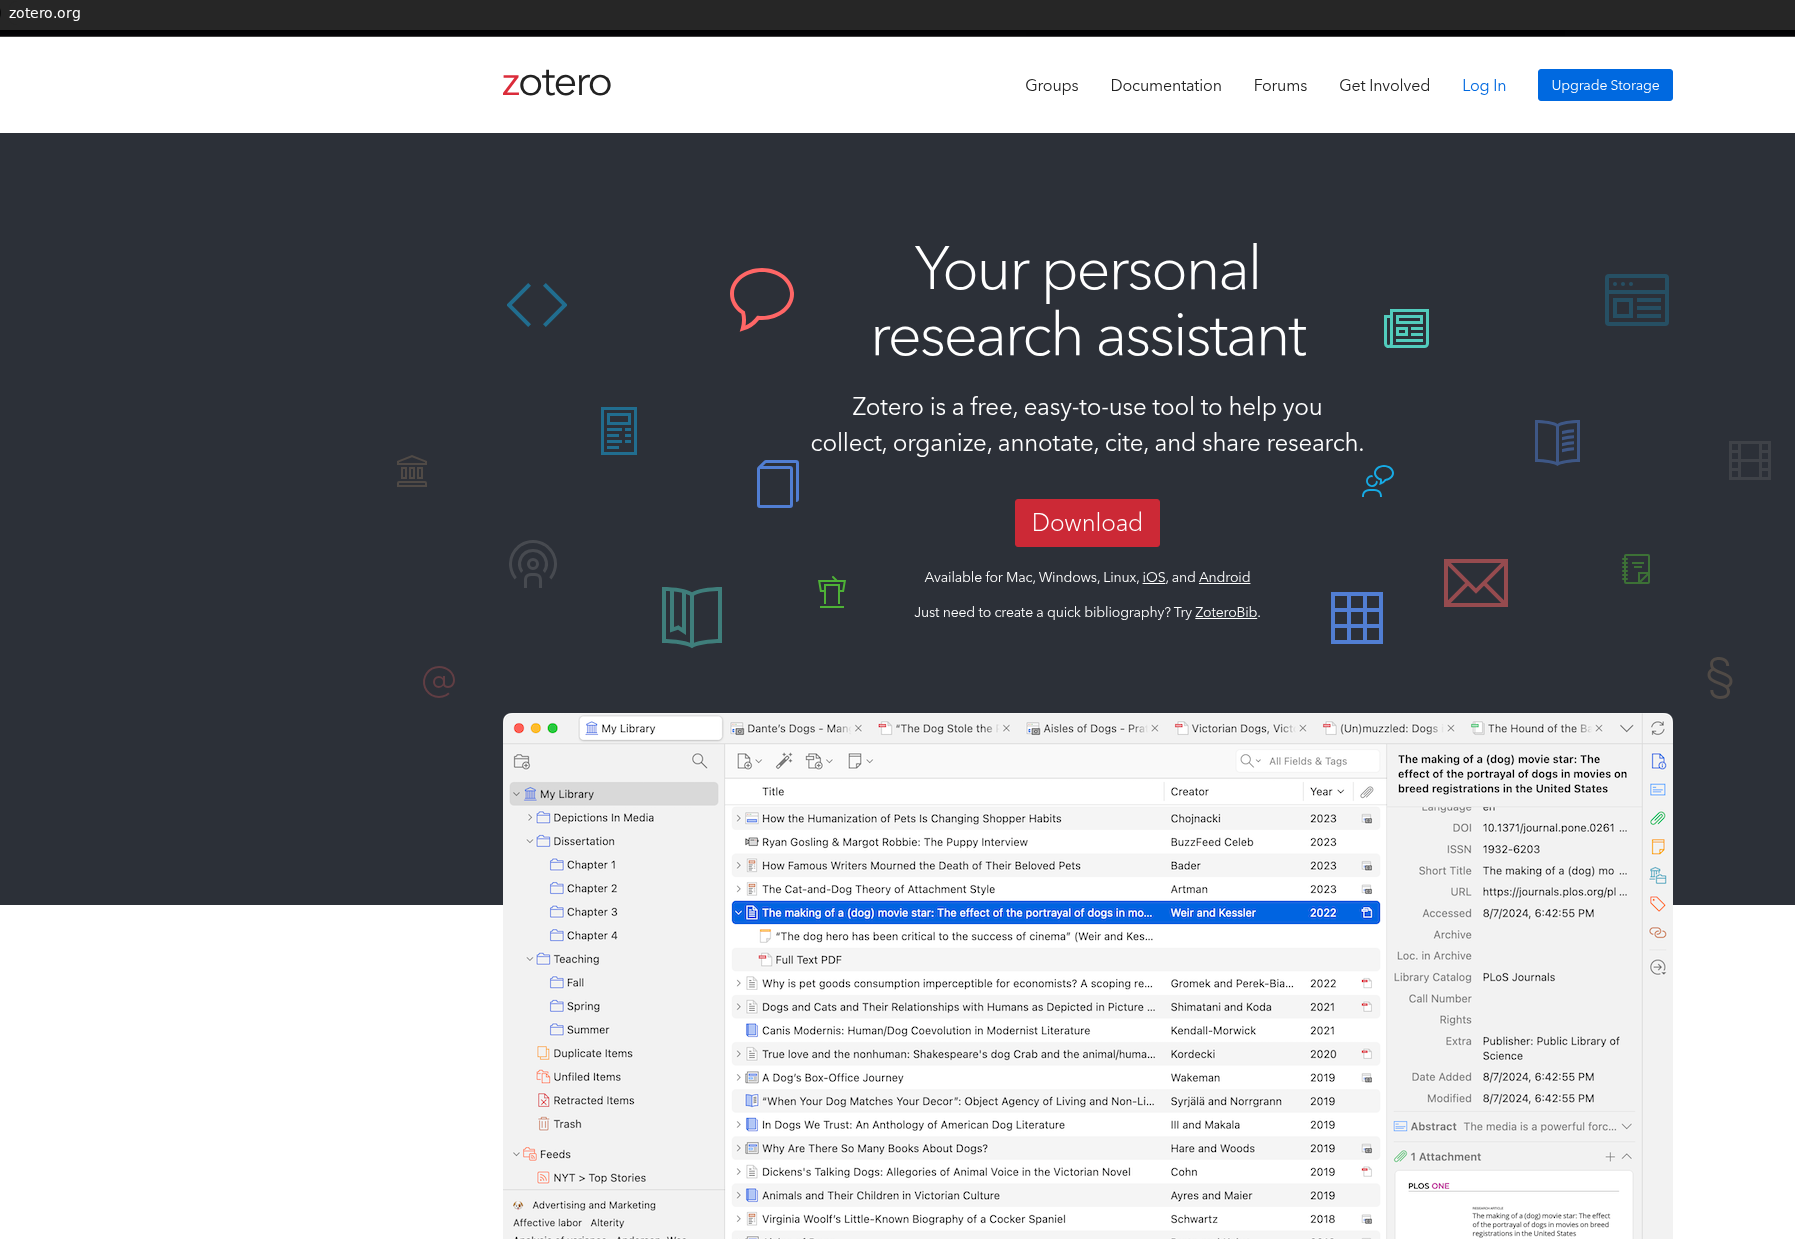
Install Zotero
Download and install Zotero from zotero.org. It runs on Windows, Mac, and Linux. If prompted, install the browser connector too — it lets you save items directly from publisher sites with one click.
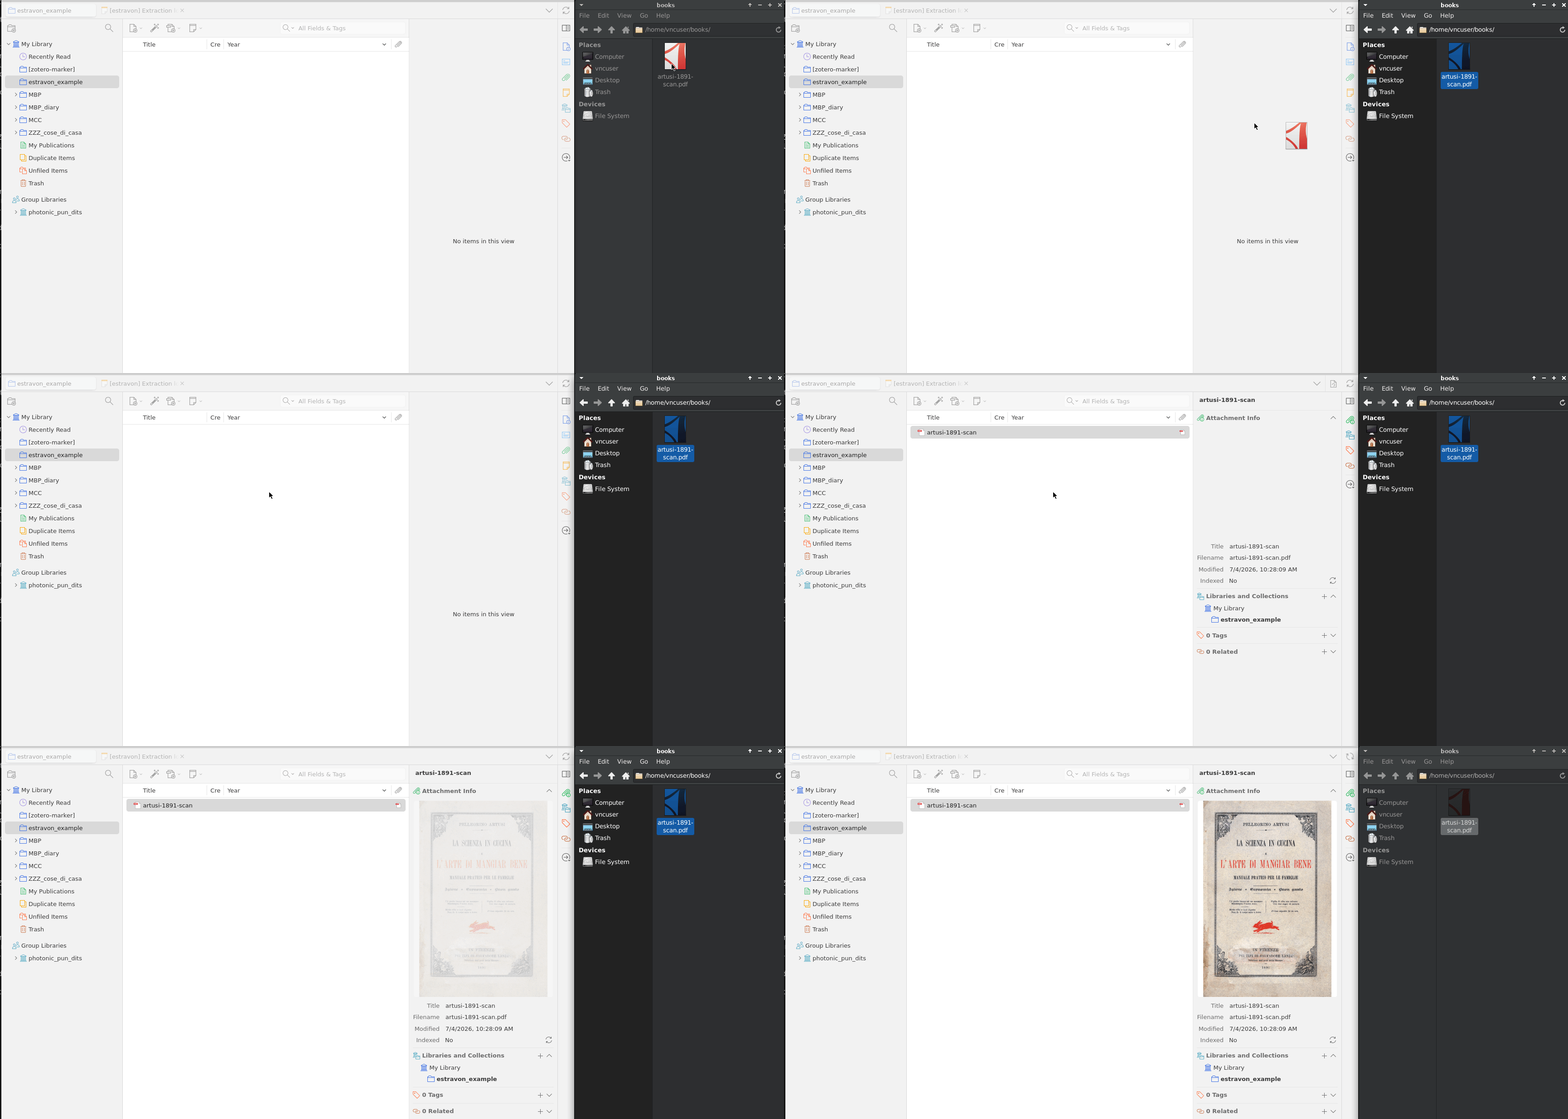
Add a book to your library
Click the magic wand in the Zotero toolbar and paste an ISBN or DOI. Zotero fetches the full metadata and creates an item in your library. Attach the PDF via the item's Files panel, or drag it onto the item.
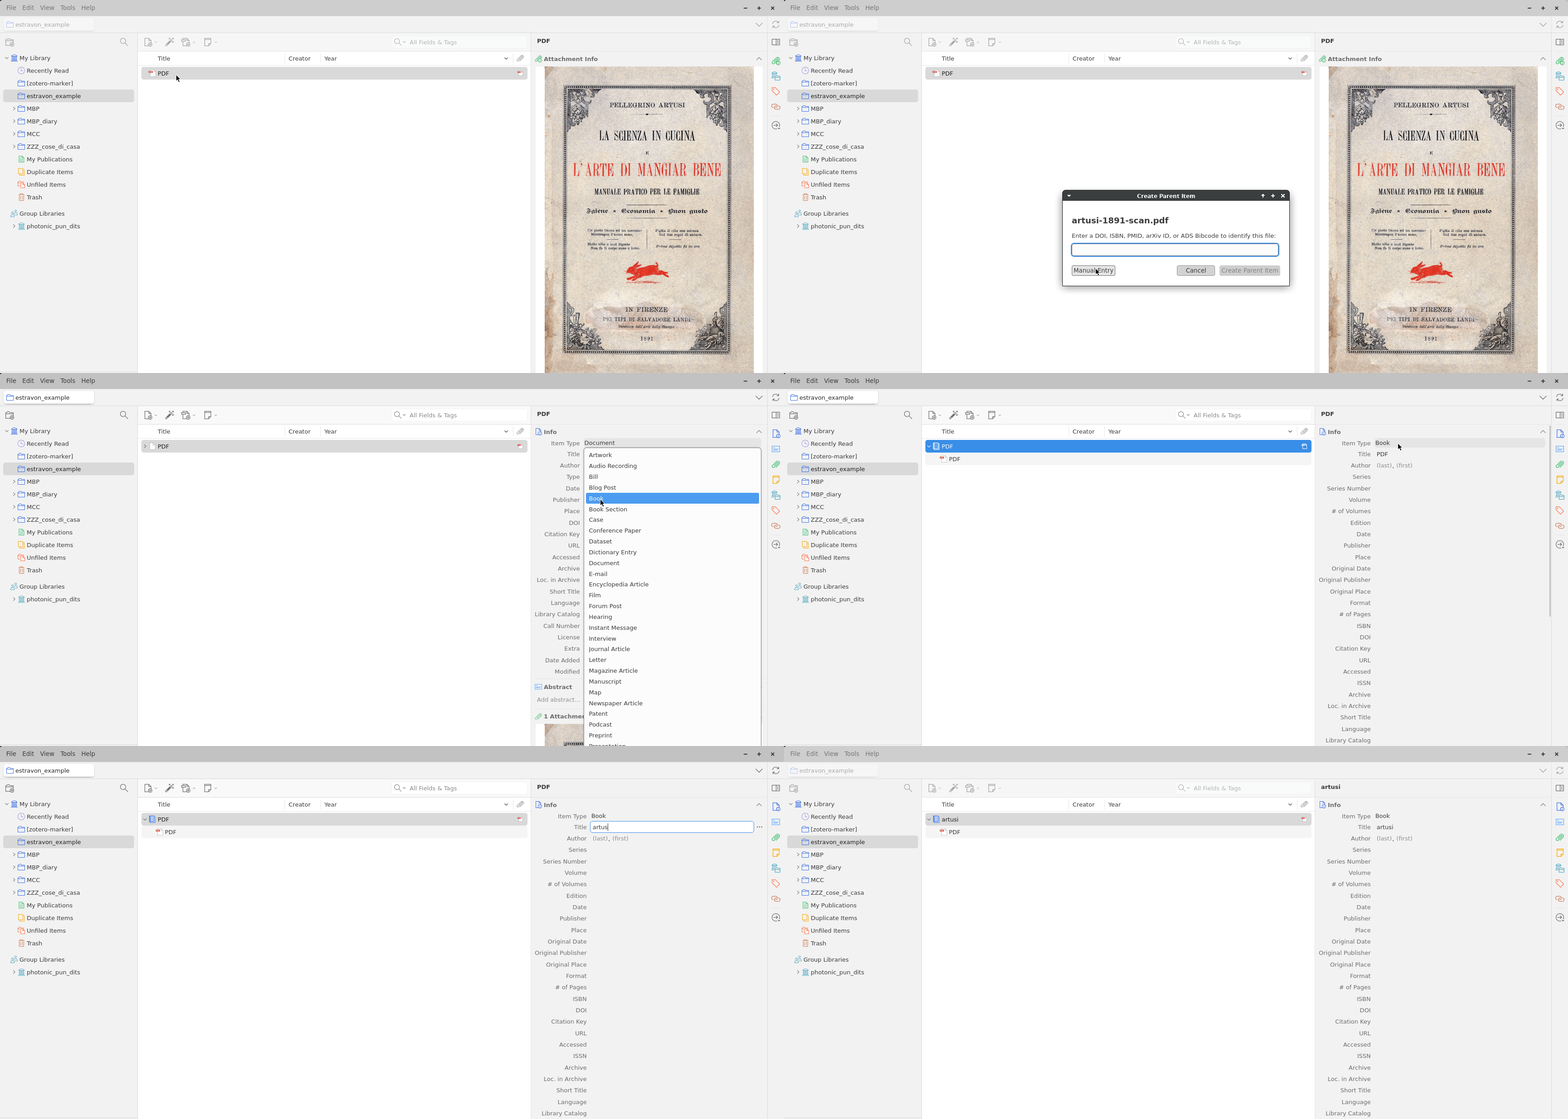
Create a parent item for a lone PDF
If you dragged a PDF directly into Zotero it becomes a standalone attachment — no parent item, no metadata. Right-click it and choose Create Parent Item, then enter the title. Estravon attaches results to the parent; without one the right-click menu won't appear. The plugin currently works with Books, Book Sections, Journal Articles, and Patents.
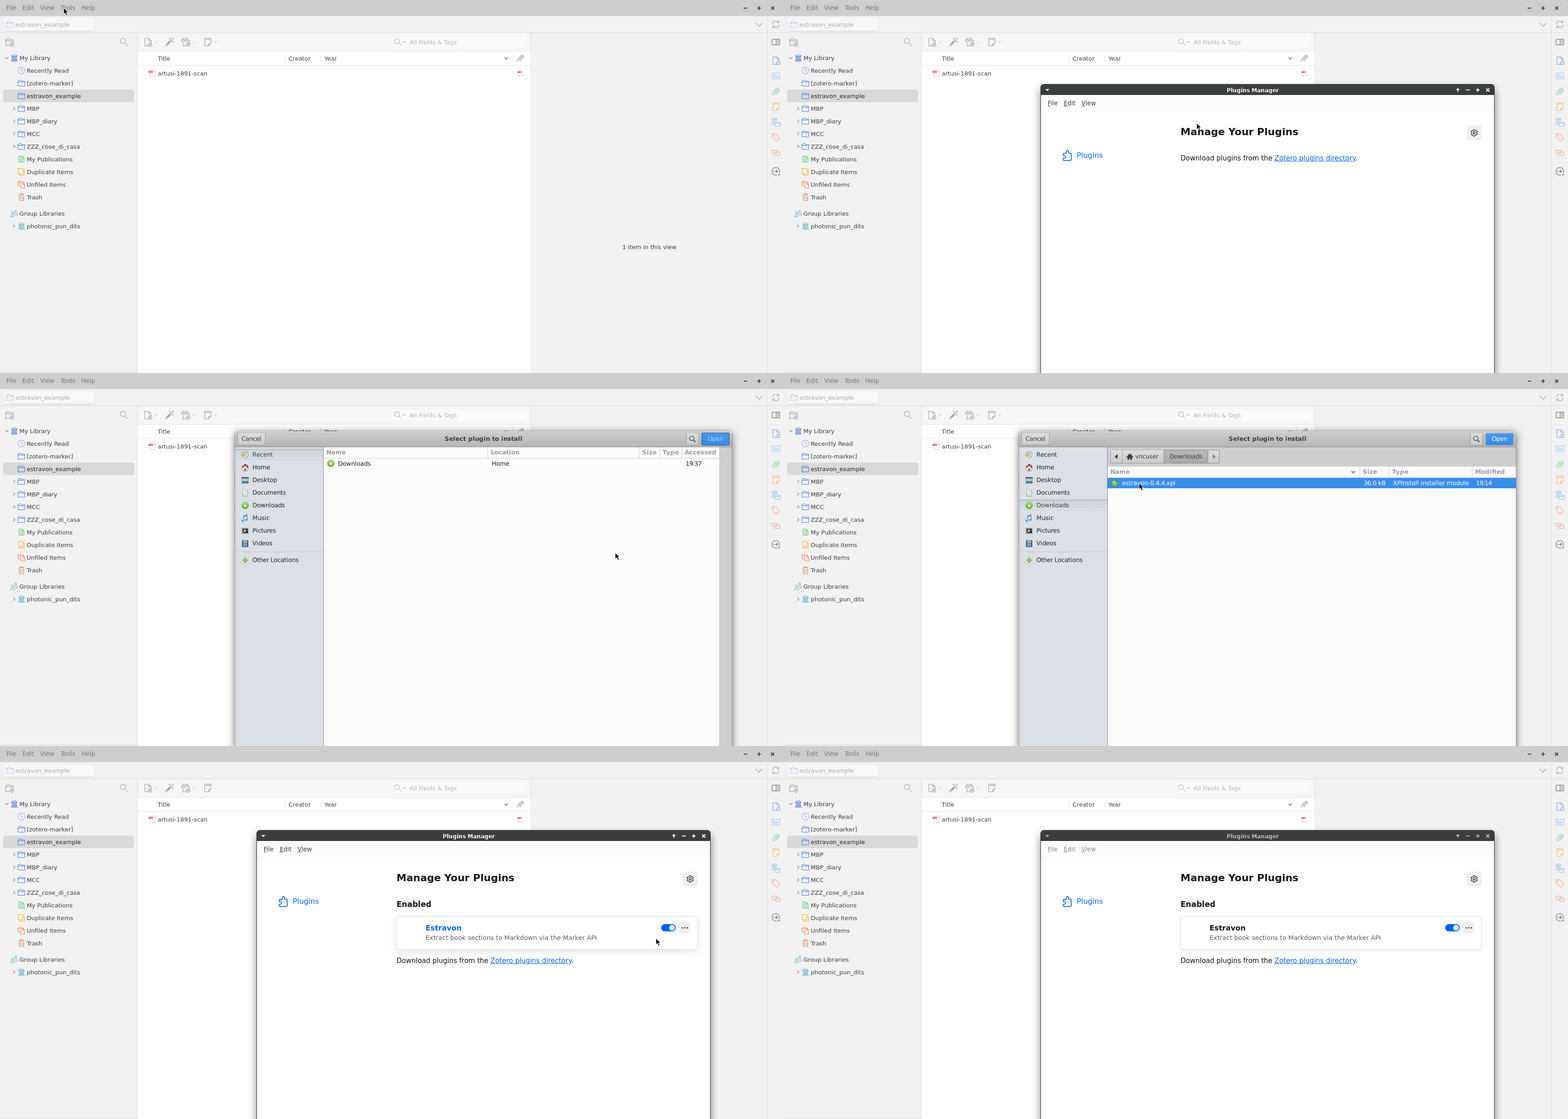
Install the Estravon plugin
Download the .xpi file below. In Zotero go to Tools → Plugins, click the gear icon and choose Install Add-on From File. Select the .xpi, then restart Zotero when prompted. Estravon appears in the plugins list as Enabled.
Configure the plugin
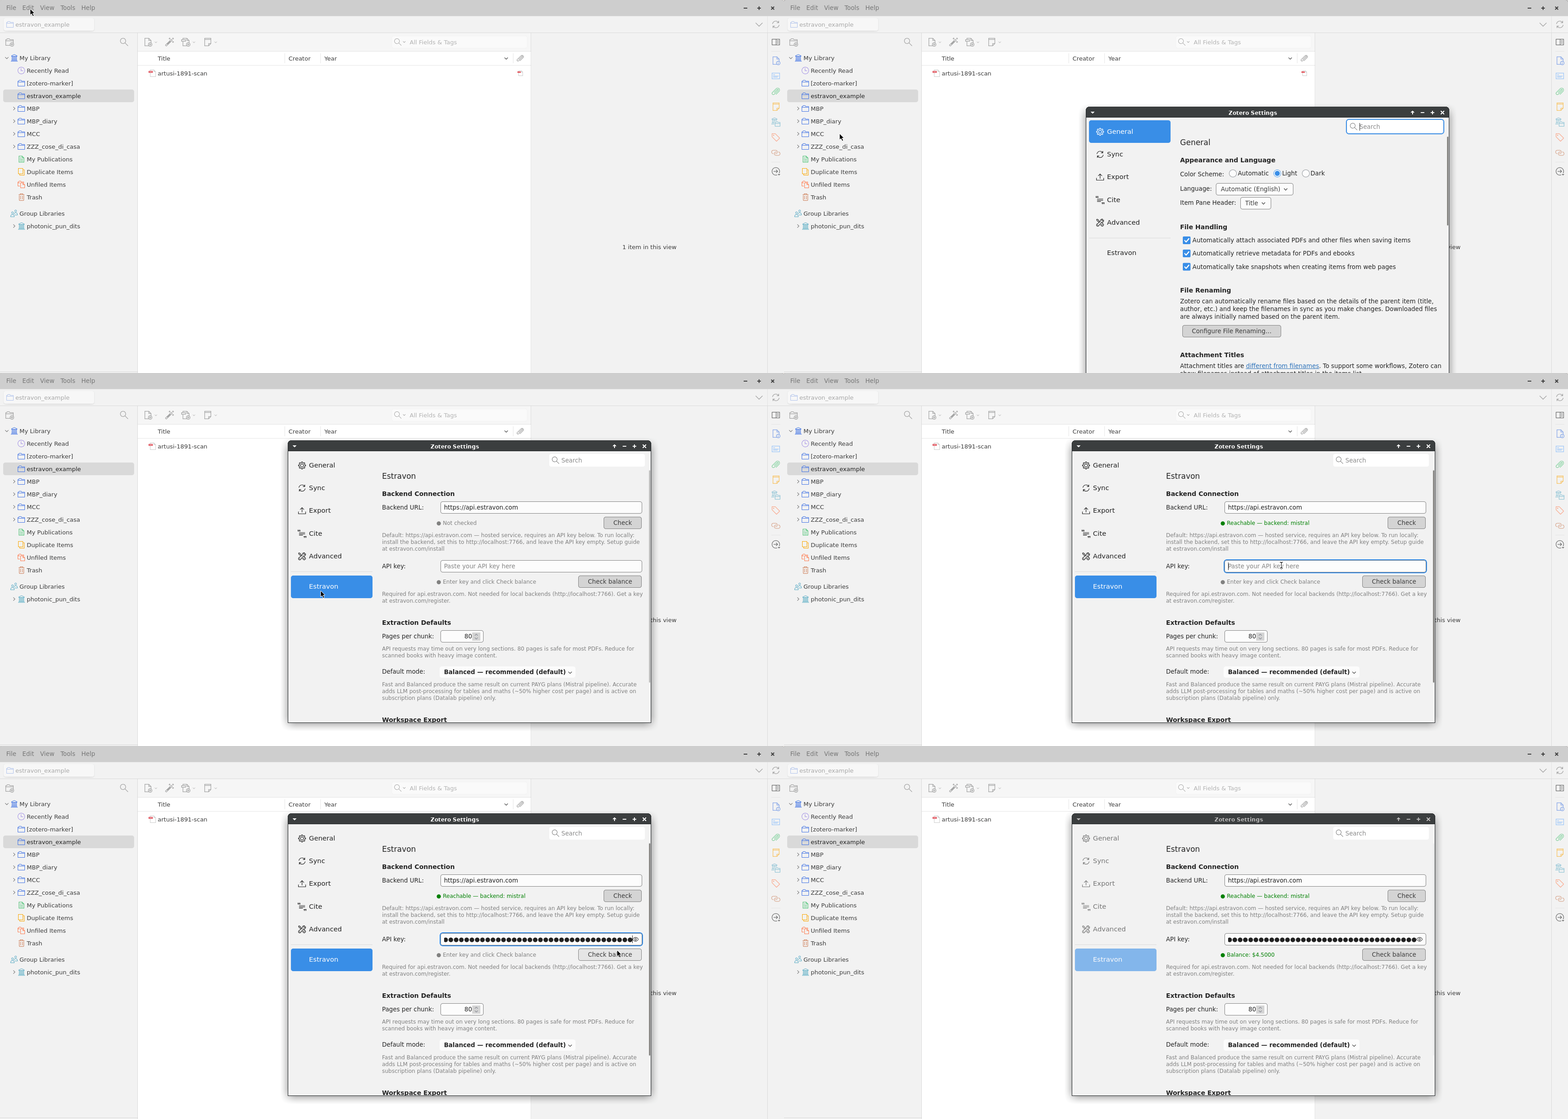
Open Zotero → Tools → Settings → Estravon. Set the Backend URL and paste your API key (hosted), or point to http://localhost:7766 (self-hosted). The status dot turns green when the connection is live.
Right-click and extract
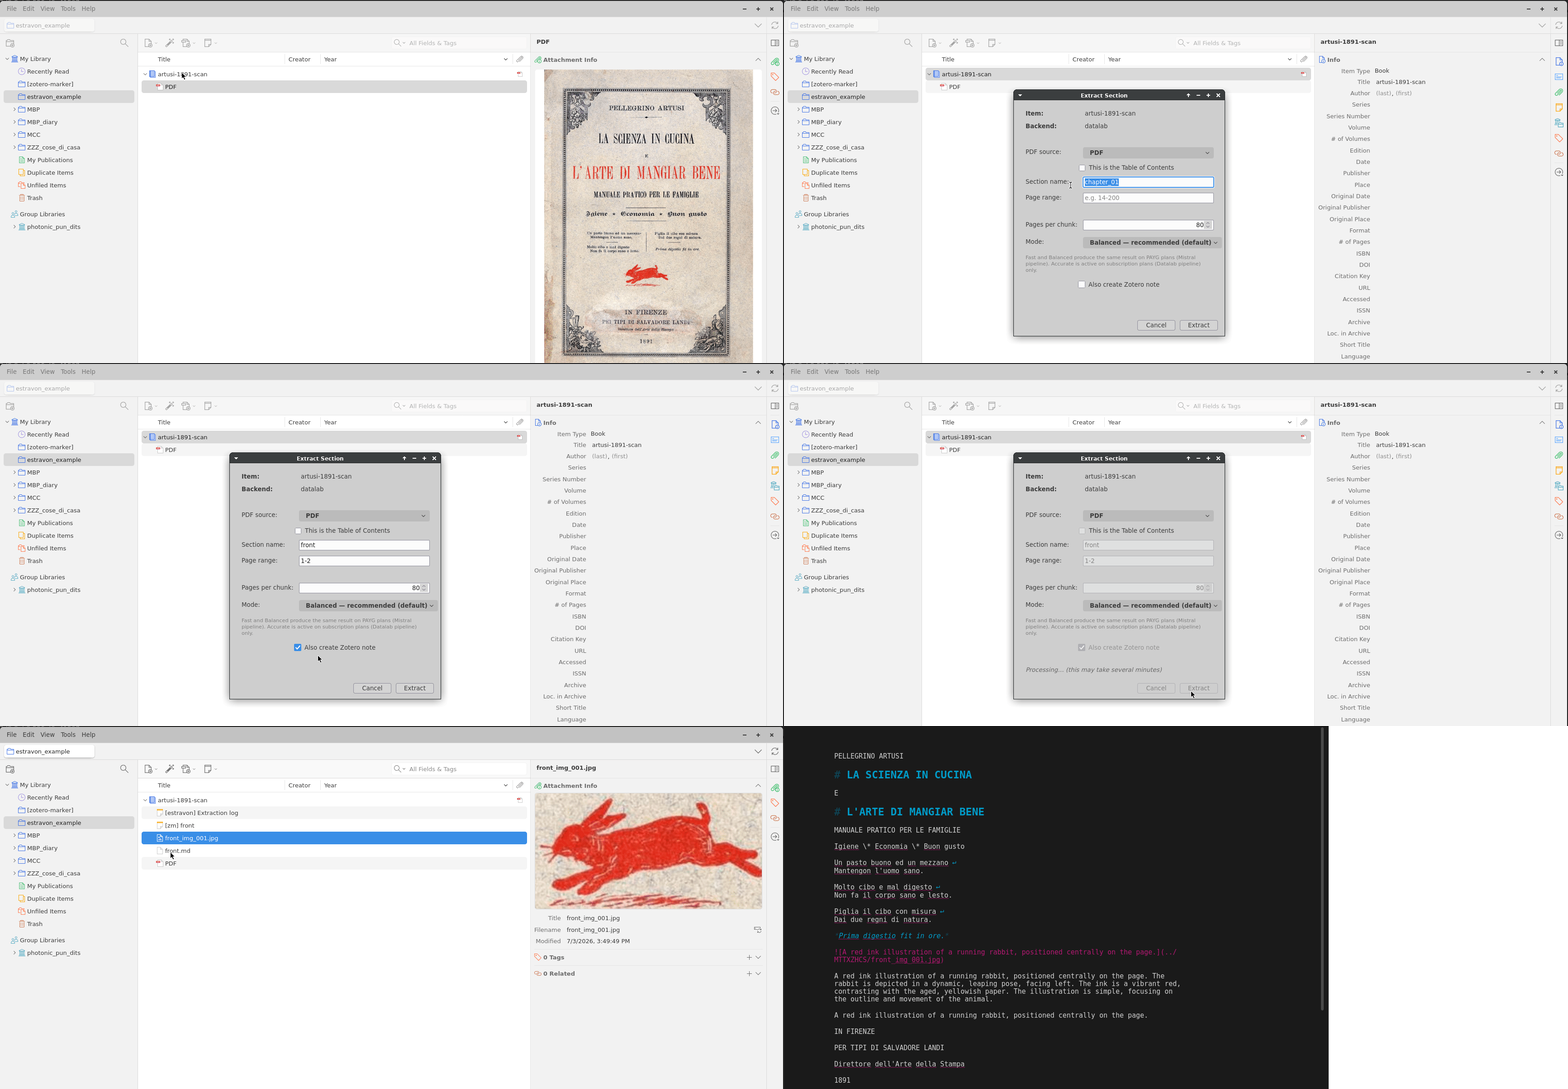
Right-click any parent item that has a PDF attachment and choose Extract with Estravon. Name the section, set the page range, pick a mode — Balanced is a good default — then click Extract.You can also create a Zotero note from the markdown
Find your Markdown
Once extraction completes, a .md file appears as a new attachment on the item. Click it to preview on your external markdown viewer. You are ready to use the file. If you ticked note creation in the previous step you can open the note in the Zotero note panel — clean headings, paragraphs, and tables
Export to your workspace
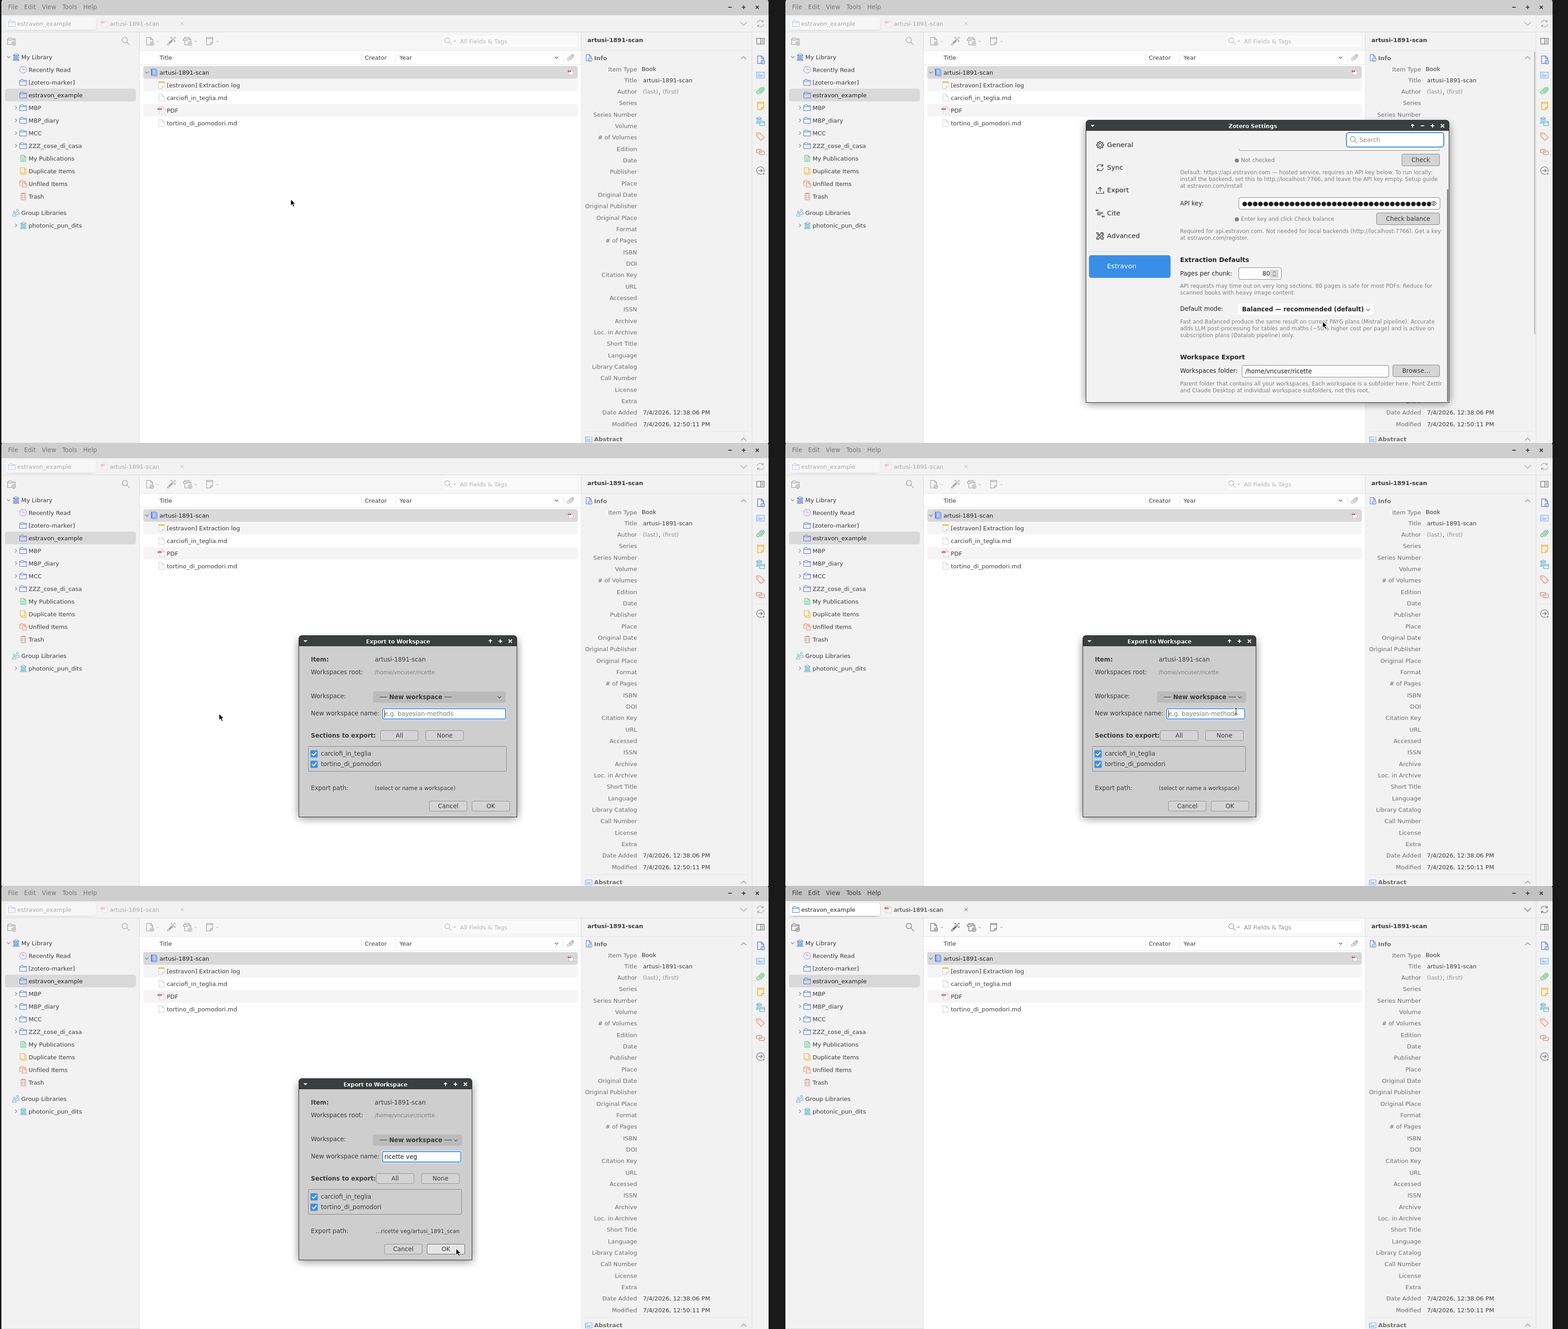
Right-click the parent item and choose Export workspace with Estravon. Pick a destination folder. All extracted Markdown files for that item are copied out, ready to open in Obsidian, Zettlr, or Claude.
Use our hosted service.
Buy a credit pack from us and paste one key. Nothing to install or maintain.
Buy a credit pack
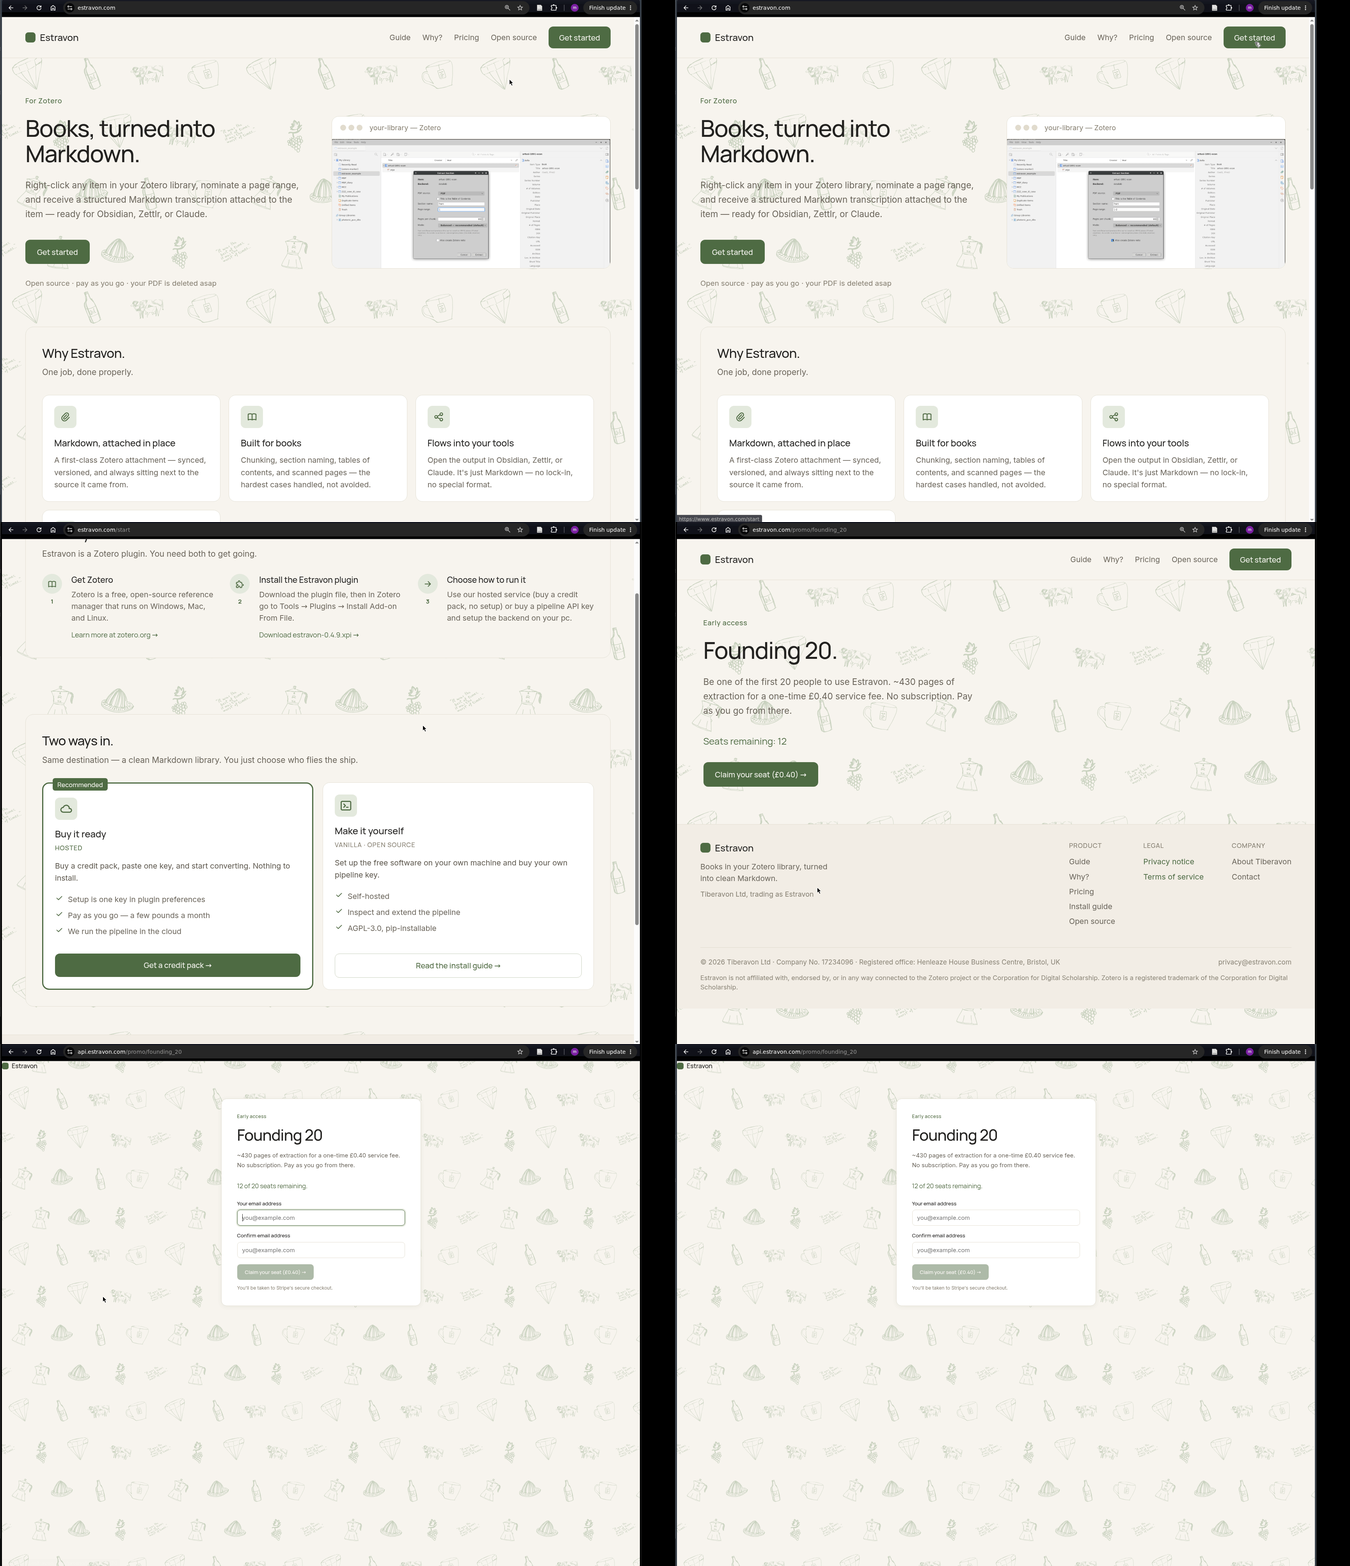
Go to the pricing page, choose a pack, and complete the Stripe checkout. No account needed — just a card. Your API key arrives by email immediately (format: est_...).
Enter the API key in Zotero
Open Zotero → Tools → Settings → Estravon. Paste your key into the API key field. The Backend URL should remain https://api.estravon.com. The status dot turns green and shows your remaining page balance.
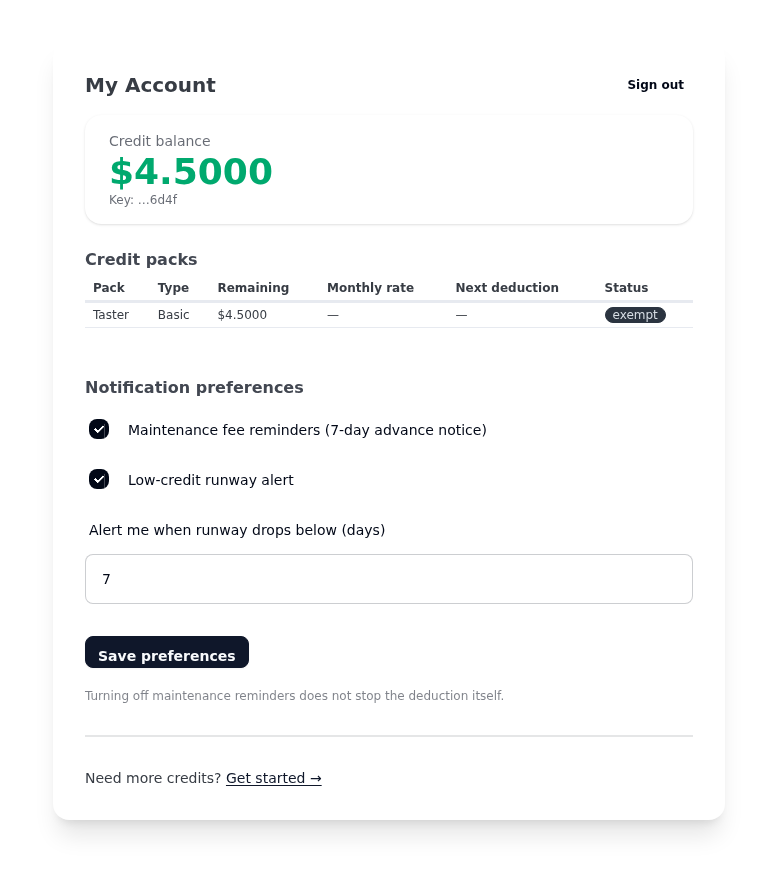
Check your balance
Your remaining pages are shown in the preferences pane each time it loads. You can also check your balance and transaction history at api.estravon.com/my-account — log in with your API key.
Build your self-hosted backend. Pay your provider directly — or pay no one.
Run the pipeline on your own machine with your own API key. AGPL-3.0, pip-installable.
Create a virtual environment and install
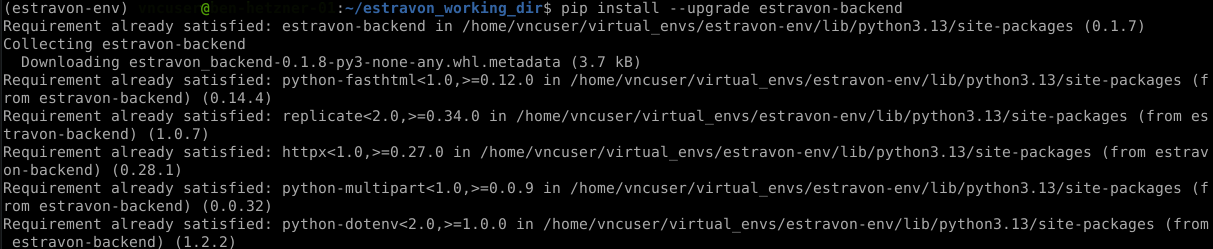
Create a Python virtual environment, activate it, then install the backend. Make a working folder — you will always run Estravon from here.
python -m venv estravon-env
source estravon-env/bin/activate  # Windows: estravon-env\Scripts\activate
pip install estravon-backend
mkdir my-estravon && cd my-estravon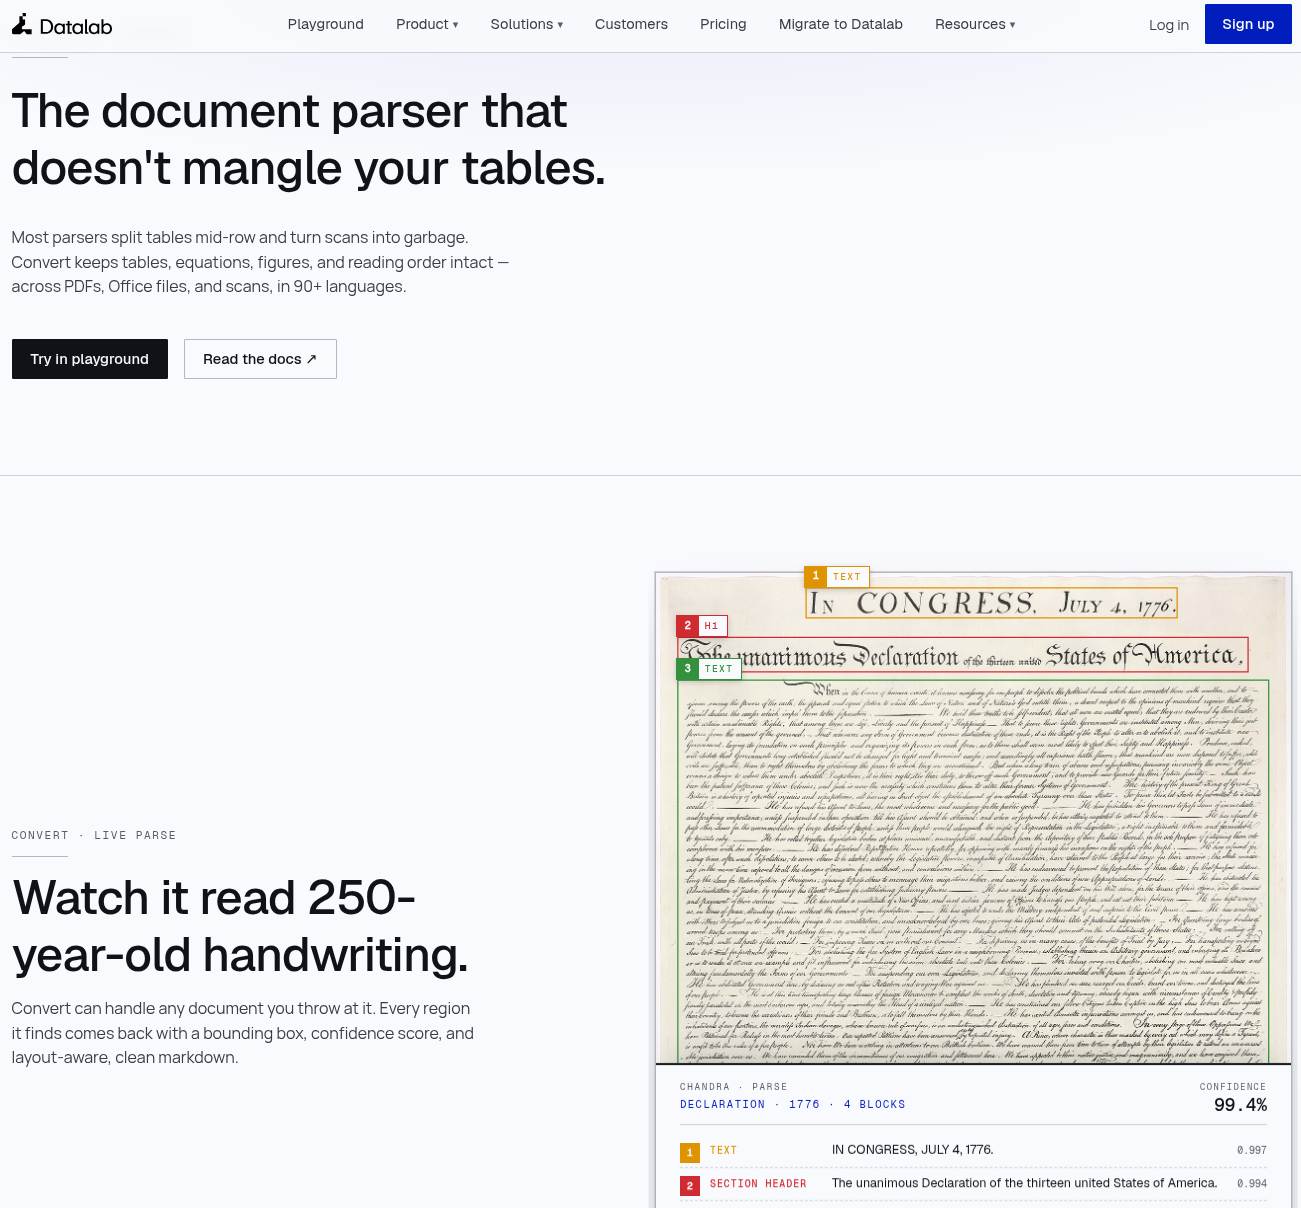
Get your own API key to access Mistral or Datalab conversion models
For pay-as-you-go API you can sign up at console.mistral.ai (Mistral model) or Replicate (Datalab model).For subscription scheme you can sign up in Datalab. You will need to generate an API key following their instructions. In your working folder create a plain text file named .env with the provider that you prefer.
MISTRAL_API_KEY=your_key_here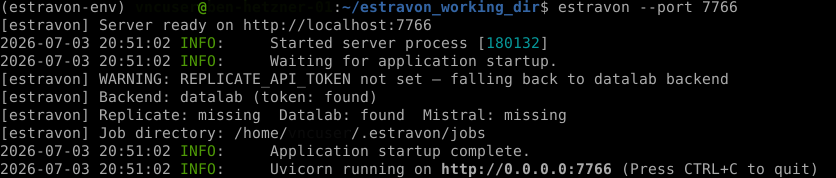
Start the backend
From your working folder with the venv activated, run the command below. You should see: Uvicorn running on http://0.0.0.0:7766. Leave this terminal open while you work in Zotero.
estravon --port 7766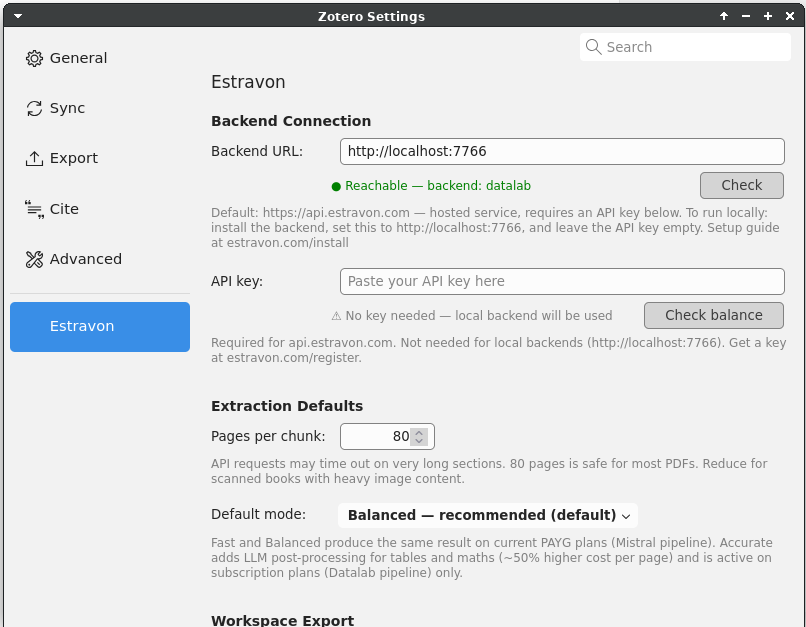
Configure the plugin to use localhost
In Zotero → Tools → Settings → Estravon, set Backend URL to http://localhost:7766. Leave the API key field blank — local backends don't need one. The status dot turns green when the server is reachable.
Run it entirely offline, with no API key.
The MinerU engine runs on your own hardware. Free, private, and considerably slower — read the limitations before you start.
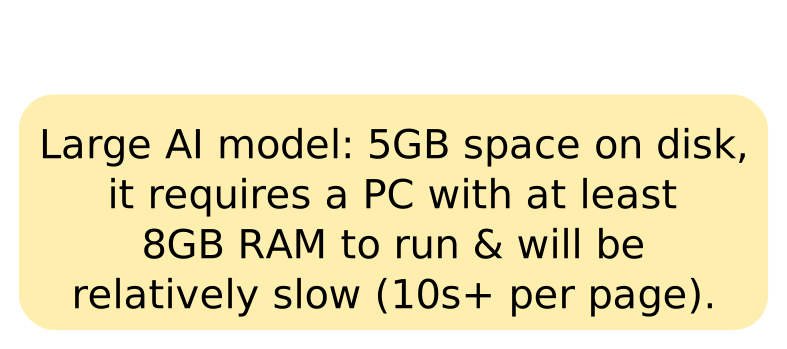
Before you start — read the constraints
This path trades speed for privacy. In our tests it took 12 seconds per page on a modern CPU — a 60-page chapter was about 12 minutes. 16 GB of RAM is comfortable; 8 GB machines will likely need other applications closed first, and the backend will refuse to start rather than risk crashing if there isn't room. The install itself is several gigabytes, downloaded once. Mathematical notation and some table headers come out less reliably than from the hosted pipeline. Works on Windows, macOS, and Linux.
Install the backend with the MinerU extra
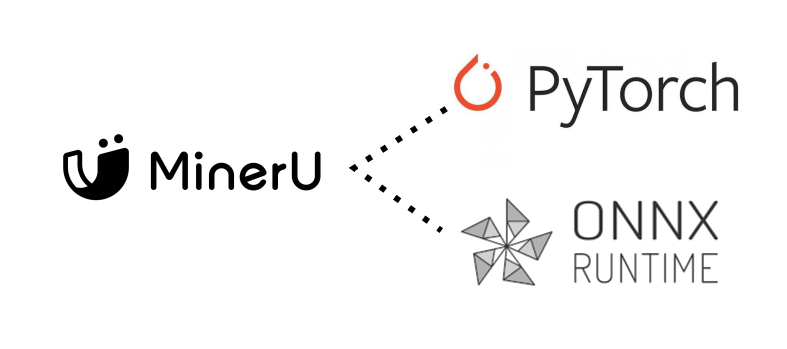
Create a virtual environment and activate it, same as the other recipes — then install with the mineru extra instead of the plain package. This pulls in MinerU's own ML stack (PyTorch, onnxruntime), which is why it isn't installed by default.
python -m venv estravon-env
source estravon-env/bin/activate  # Windows: estravon-env\Scripts\activate
pip install "estravon-backend[mineru]"
mkdir my-estravon && cd my-estravon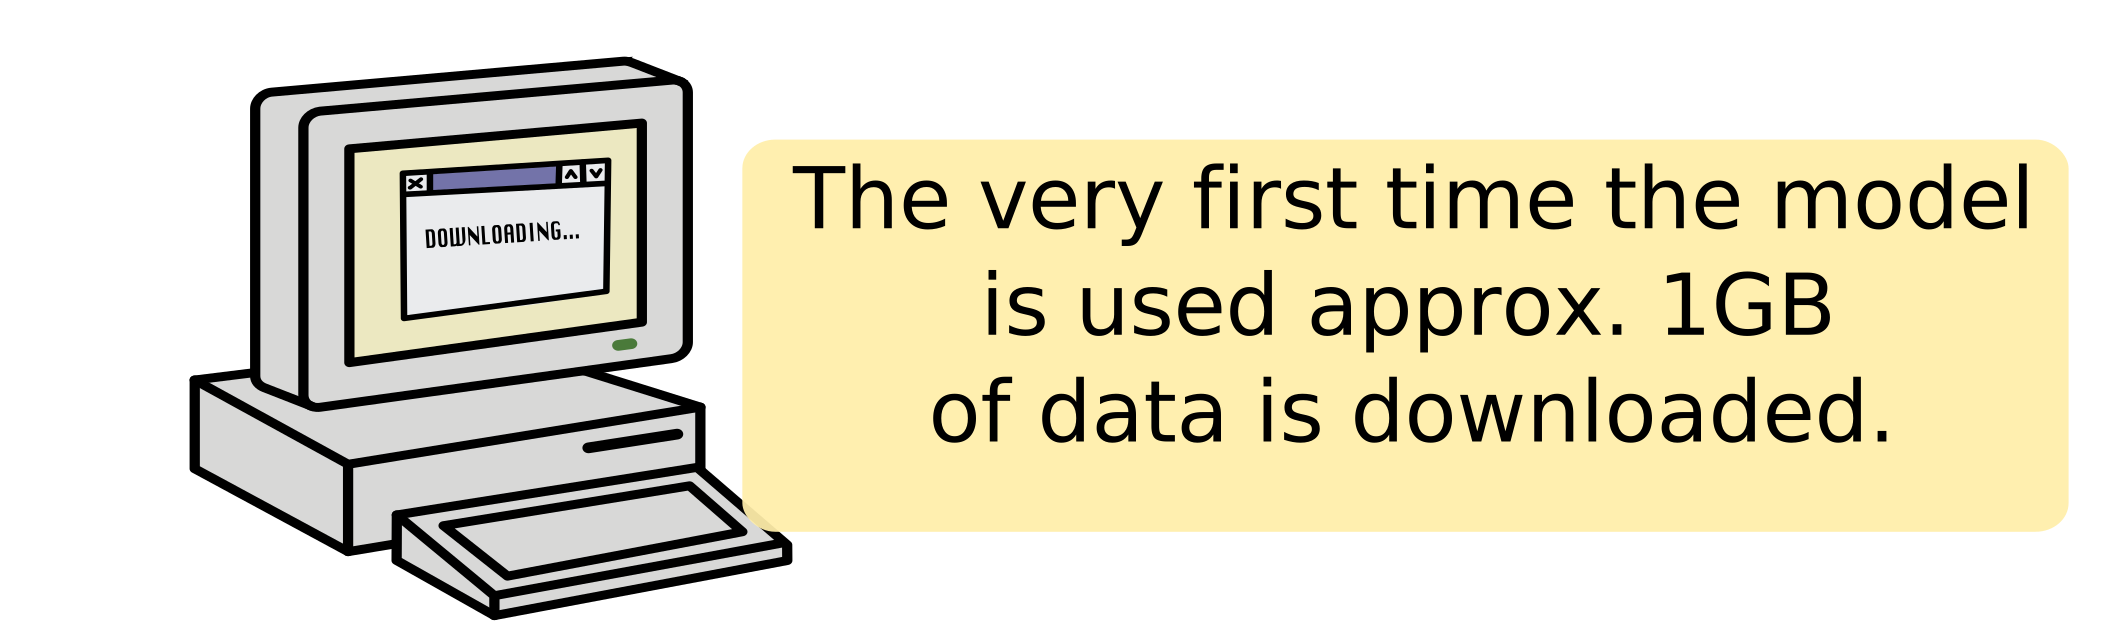
Run the backend — no .env file needed
From your working folder with the venv activated, run the command below with --backend mineru. No API key, no .env file. The first run downloads MinerU's model weights (about 1 GB, cached afterwards) before the server comes up, so the first start takes longer than later ones.
estravon --backend mineru --port 7766Configure the plugin to use localhost
In Zotero → Tools → Settings → Estravon, set Backend URL to http://localhost:7766. Leave the API key field blank — local backends don't need one. The status dot turns green when the server is reachable.
Use with Claude Desktop.
Let Claude read your extracted Markdown and answer questions across chapters.
Export the workspace to a stable folder
Right-click a Zotero item → Export workspace with Estravon. Save to a permanent location such as ~/Documents/estravon-workspace/. Avoid Zotero's internal storage — Claude Desktop needs a stable path it can always find.
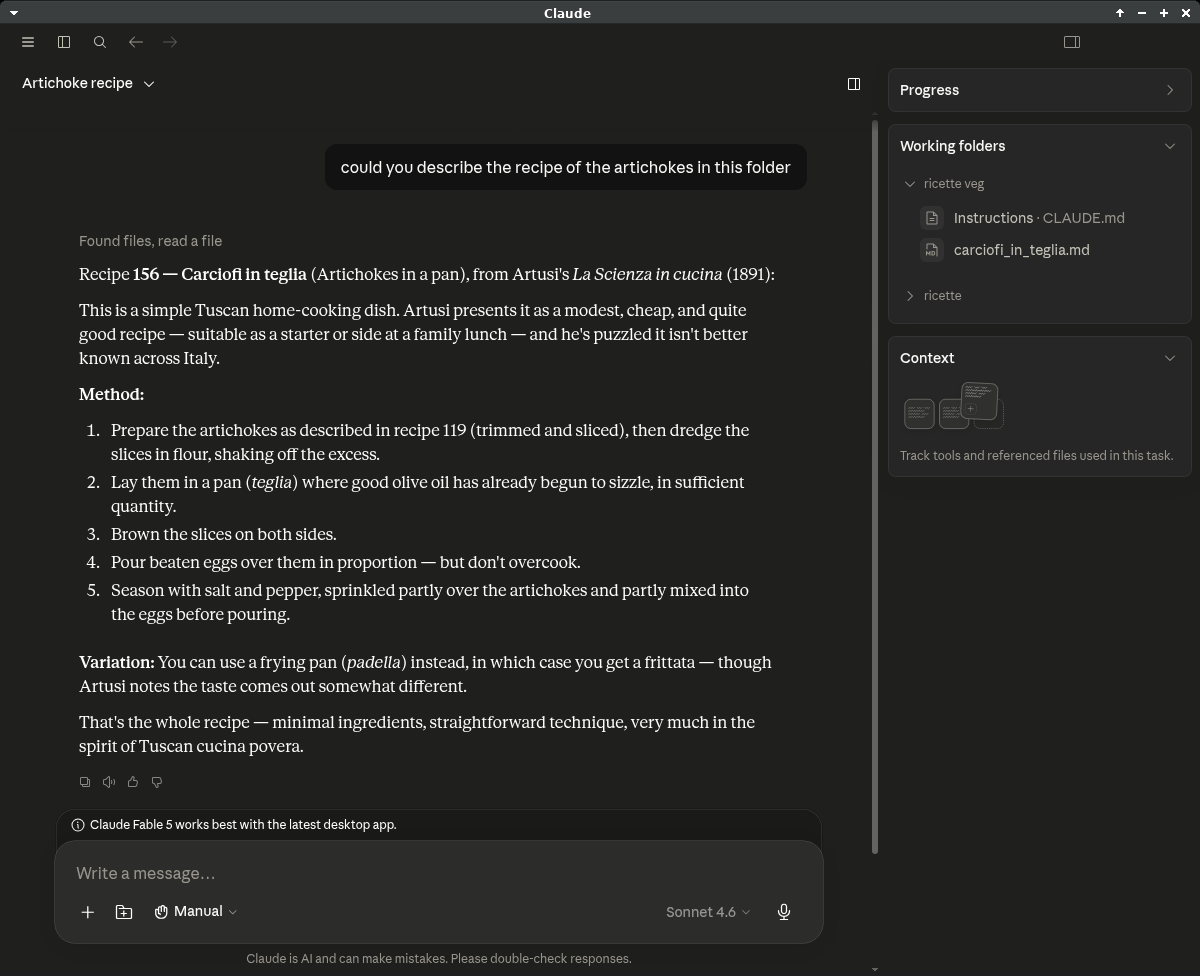
Add the folder as a Claude Desktop file source
Open Claude Desktop → Settings → Files. Add your workspace folder as an allowed directory. Claude can now read the .md files in any conversation — ask it to summarise a chapter, compare arguments across sections, or extract all tables as CSV.
Use with Zettlr.
Write with your Markdown notes and Zotero citations side by side.
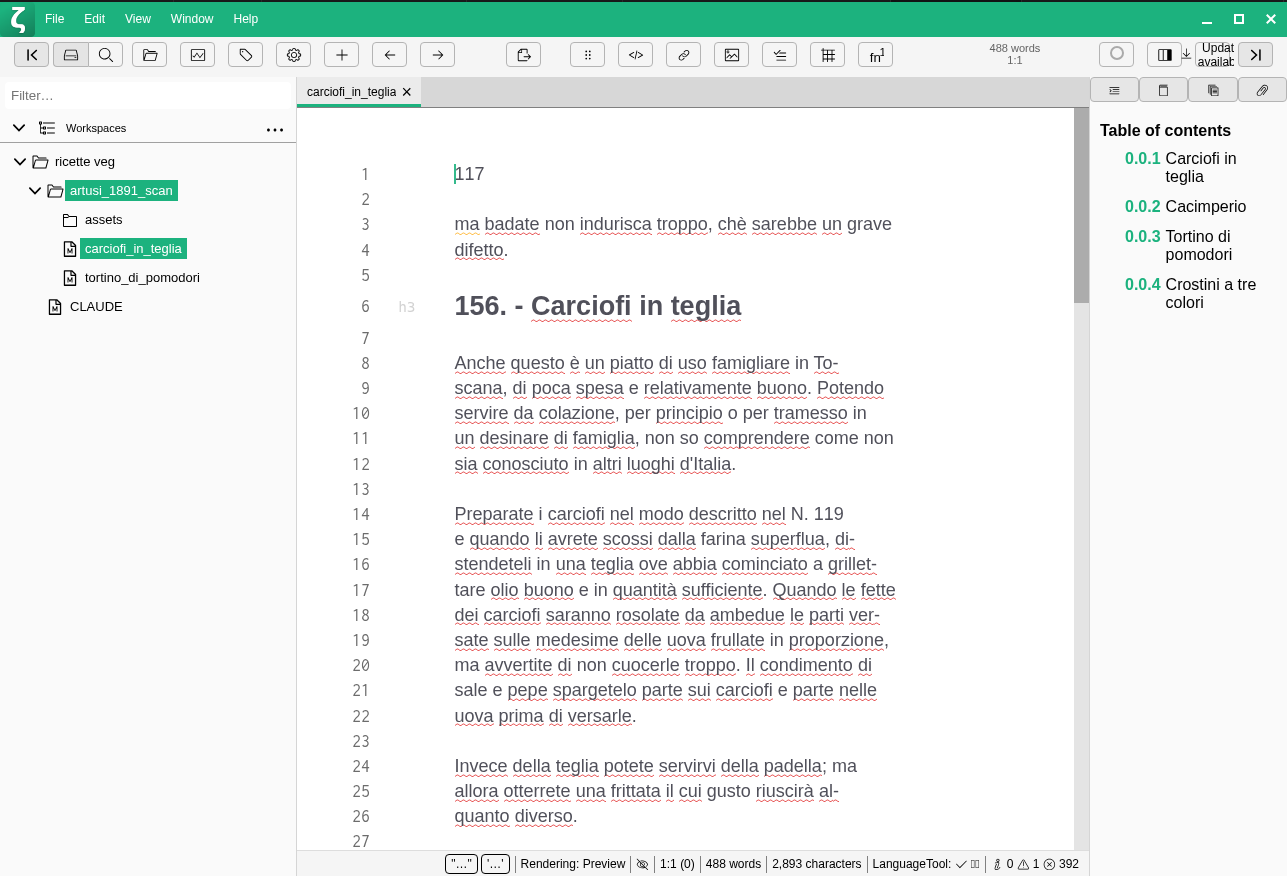
Open the exported workspace in Zettlr
Export the workspace from Zotero (main recipe step 8) to a folder. In Zettlr go to File → Open Workspace and select the same folder. Your extracted chapter files appear in Zettlr's file manager.